How does the app work?
Here you will find a step-by-step guide on how to convert your images into plotter templates. In every step of the app, there is a question mark icon that provides you with additional detailed help.
1. Image Upload
Select a portrait image, preferably in 4:3 format, and upload it to the app.
Tips for a good photo!

2. Remove Background
You can automatically remove the background with just one click.

3. Erase
If you want to manually adjust additional details, you can use the eraser to remove certain parts of the background or unwanted areas.

4. Apply Filters
There are presets for contrast, brightness, and other filters that work well for most photos. However, you can adjust them as needed to get the best result for your image.

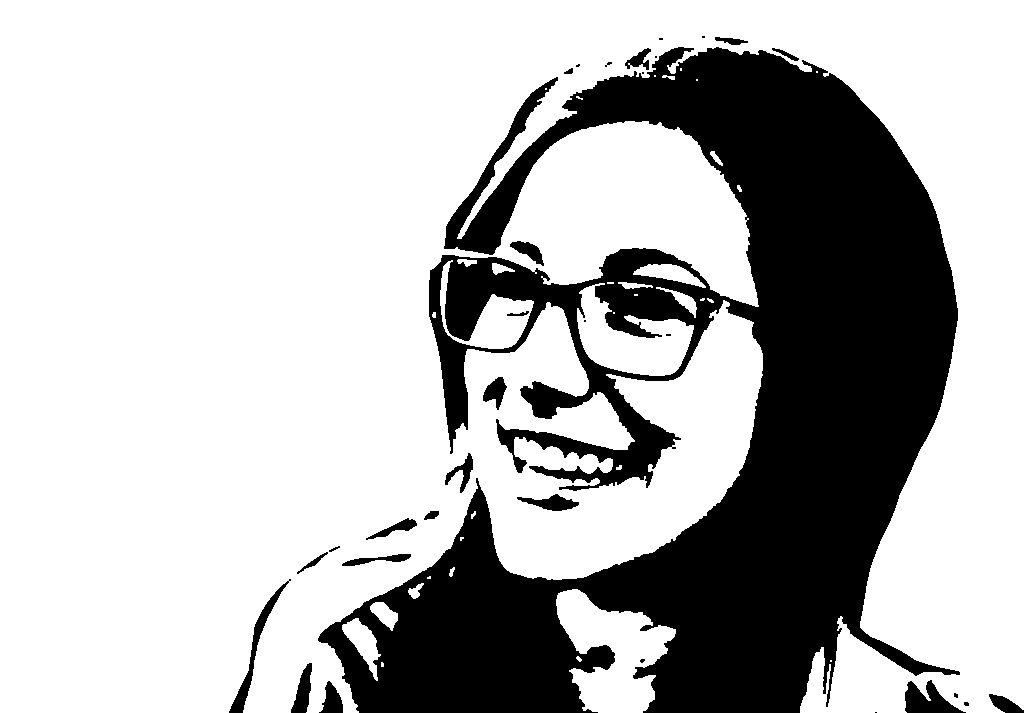
5. Optimize Image for Plotter
After applying the filters, it is important to convert your image into a high-contrast black-and-white version, which contains as few small details as possible and is easy to plot. Adjust the settings so that the image remains clear and plotter-friendly.
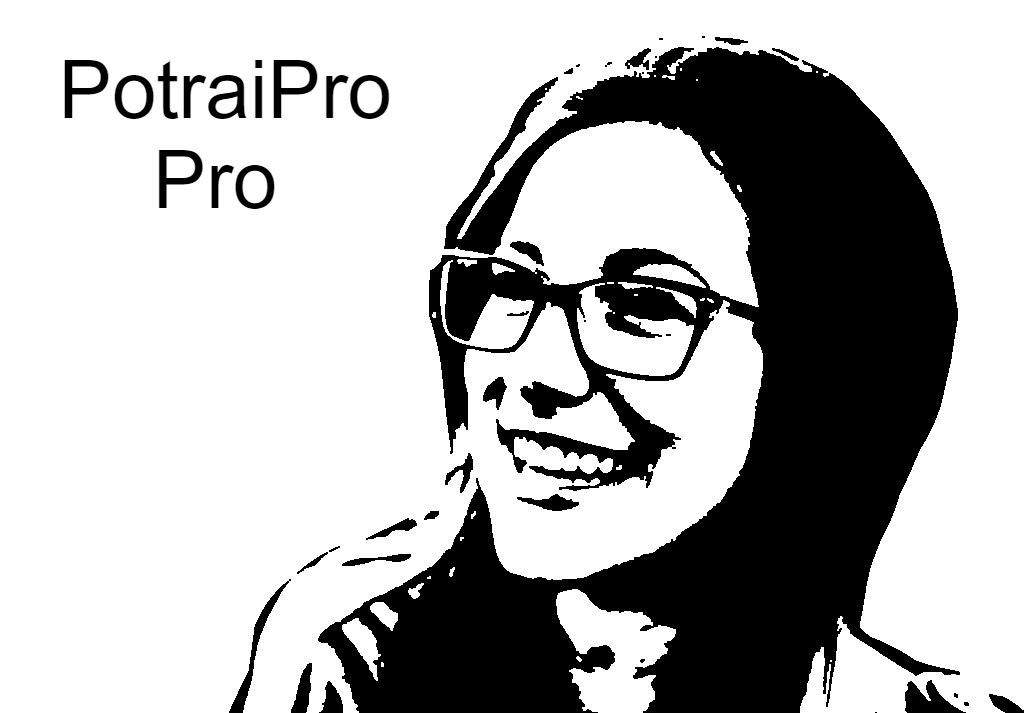
6. Add Text
After optimizing the image, you can add text and adjust the position of the text on your image.
7. Download SVG
In the end, you can download your image as an SVG file that is suitable for plotters.
Here you can download the example SVG to see what the result looks like.
More free SVG templates.